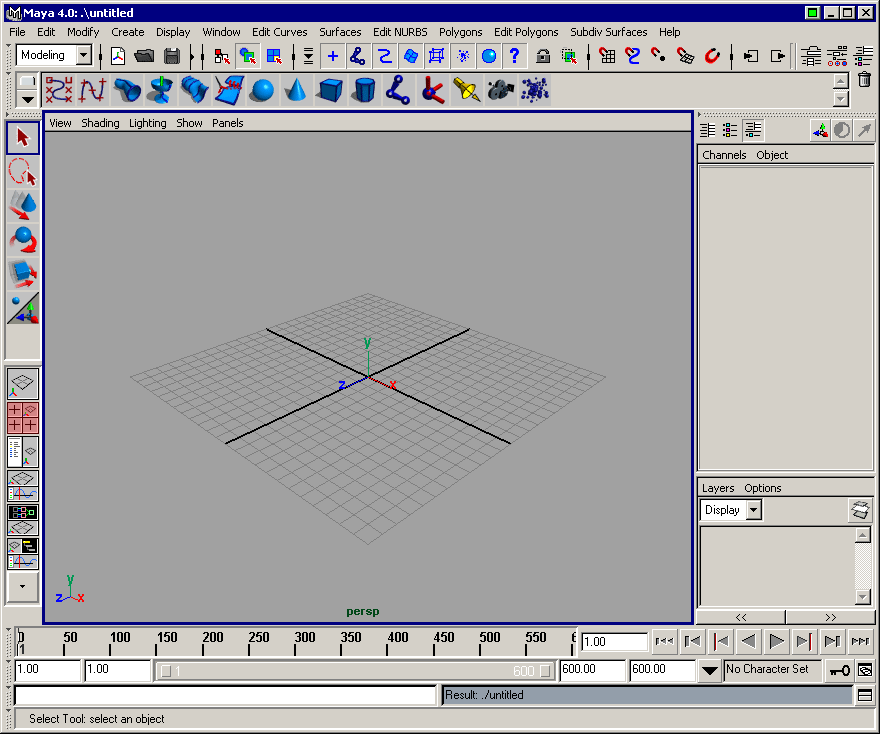


Assuming you haven't already played about with reconfiguring the default Maya 4 layout, you'll be greeted with a window a little like the following when you first run the program:

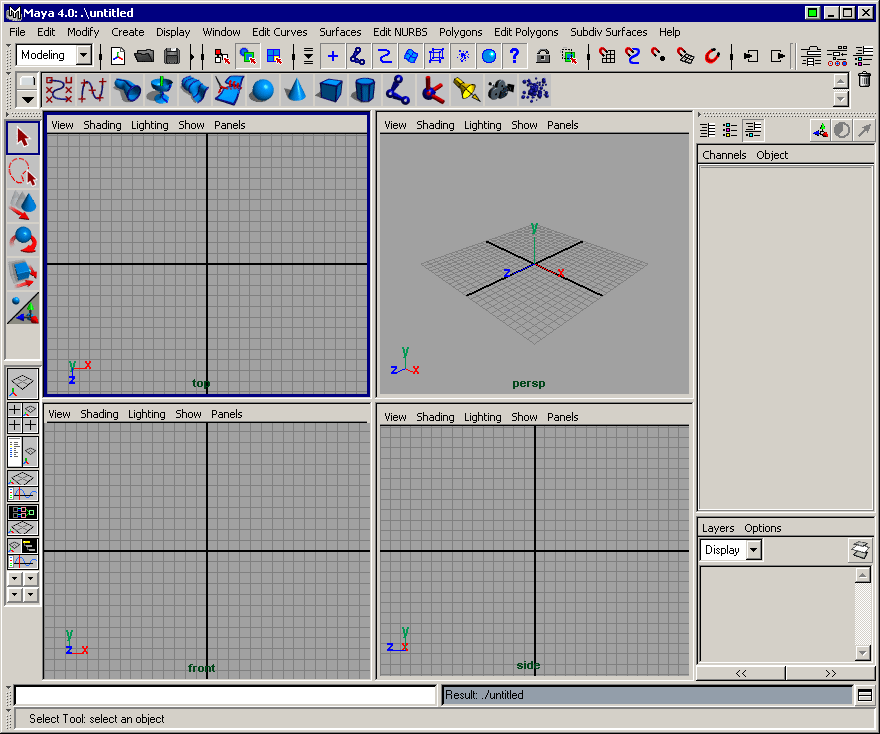
You are of course free to use whichever layout you like. Virtually everything in Maya can be configured. You can show or hide different parts of the UI. You can resize viewports. You can copy viewports into separate windows. And so on and so on. As you get used to using Maya you'll decide on your own preferred way of working. The way I like is to use the Four View layout such as you would see in 3D Studio MAX or Milkshape. I've highlighted the Four View icon on the left of the picture above. Press it and the perspective view is replaced by three orthographic views and a smaller perspective view. I also turn off the Time and Range sliders as they aren't much use when we aren't animating. From the Display menu, move the mouse over UI elements and click on the double bar at the top of the menu.
The menu has now been detached and can be dragged around your desktop independently of the main Maya window. Use this floating menu to disable the Time Slider and Range Slider. After they've disappeared, you're left with a layout like the following:

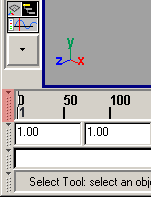
Notice the two bars which vanished from the bottom of the screen. Use the floating UI Elements menu to bring the Time Slider back. Now close the floating menu. Many menus can be detached in the same way as the UI Elements one. Experiment detaching a few menus now. When you've finished, take a look at the next image:

The highlighted tool allows you to hide the menu it's attached to. Click it to hide the Time Slider. The tool underneath that one is the Hide Command Line tool. Notice that the mouse pointer changes shape as you move over it. This time right click (and hold the right button) to bring up a display menu, from where you can show and hide other UI elements.
As you can see, there are many ways to do the same thing in Maya. It's up to you to decide which way you like best.
When you're happy with the view layout we'll move on to checking out some editing basics and creating a shape.
| intro | part 1: Setting the layout | part 2: Editing basics | part 3: Vertex manipulation | part 4: Face manipulation | part 5: Materials, texturing and UVs - (i) | part 6: Materials, texturing and UVs - (ii) | part 7: Materials, texturing and UVs - (iii) | part 8: Final notes |