

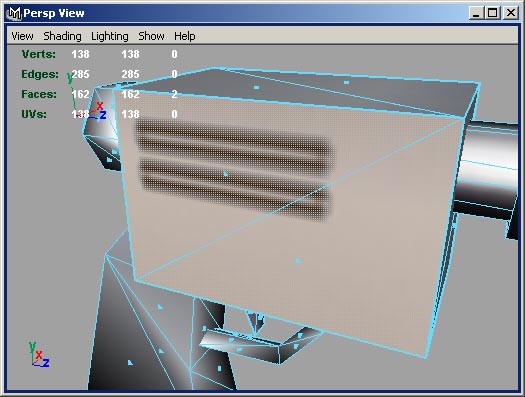
To finish the texturing, we must move each of the UV maps in the texture editor to the top-right corner of UV space (where the texture image will be). Probably the hardest part about doing this is forgetting what each of the maps are. Select two faces of the gun:
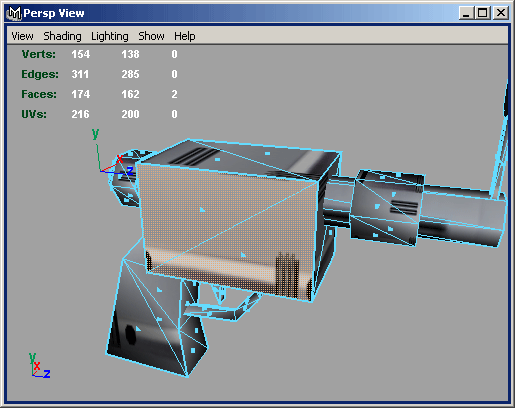
The faces show up in the UV Texture Editor. You can now convert the selection to UVs and select all the UVs around that area in the editor.
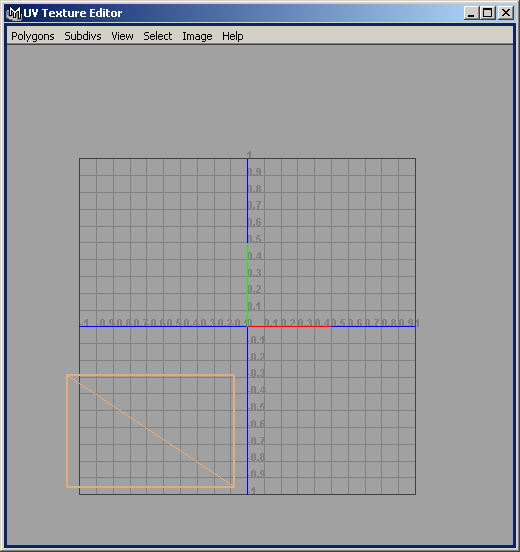
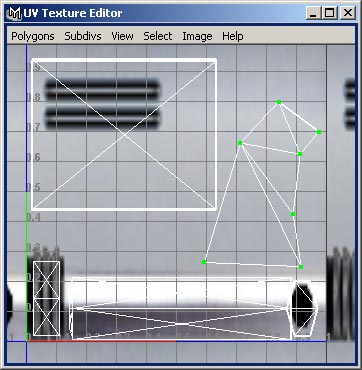
Now you can move the UVs into position using the texture editor.
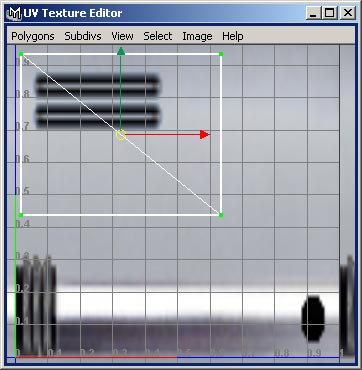
However there's a problem. Don's original design has the black extrusions to the rear of the gun. Our perspective view now shows them towards the front:
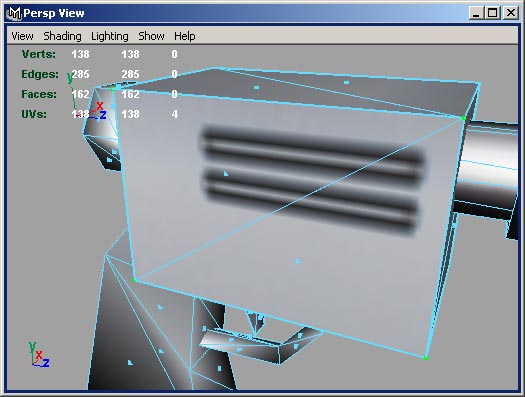
To fix this, convert the selection to faces and choose a horizontal flip from the Flip UVs menu under Polygons in the texture editor.
After moving the UVs around you should be left with something like this:
Yes they are different. Windows crashed. I hadn't saved because Windows 2000 is very stable and never crashes. Microsoft told me so. Let this be a lesson to you.
Consequently my enthusiasm for completing the explanation is somewhat drained. I hope you can figure it out.
In this raygun example we had the original skin to work with. If we didn't have it we would have had to create the skin ourselves. In fact, you already know the techniques needed to do this. From the Polygons menu in the texture editor, select UV Snapshot. This enables you to write a UV mapping image which you can load into your favourite graphics package and use as a guide to create your skin.
| intro | part 1: Assigning materials | part 2: Applying mappings | part 3: Mapping the rest of the gun | part 4: Fitting the skin |